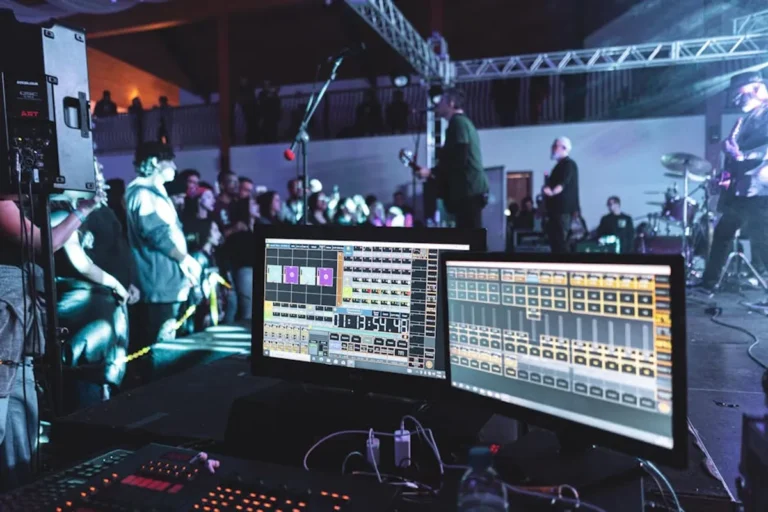
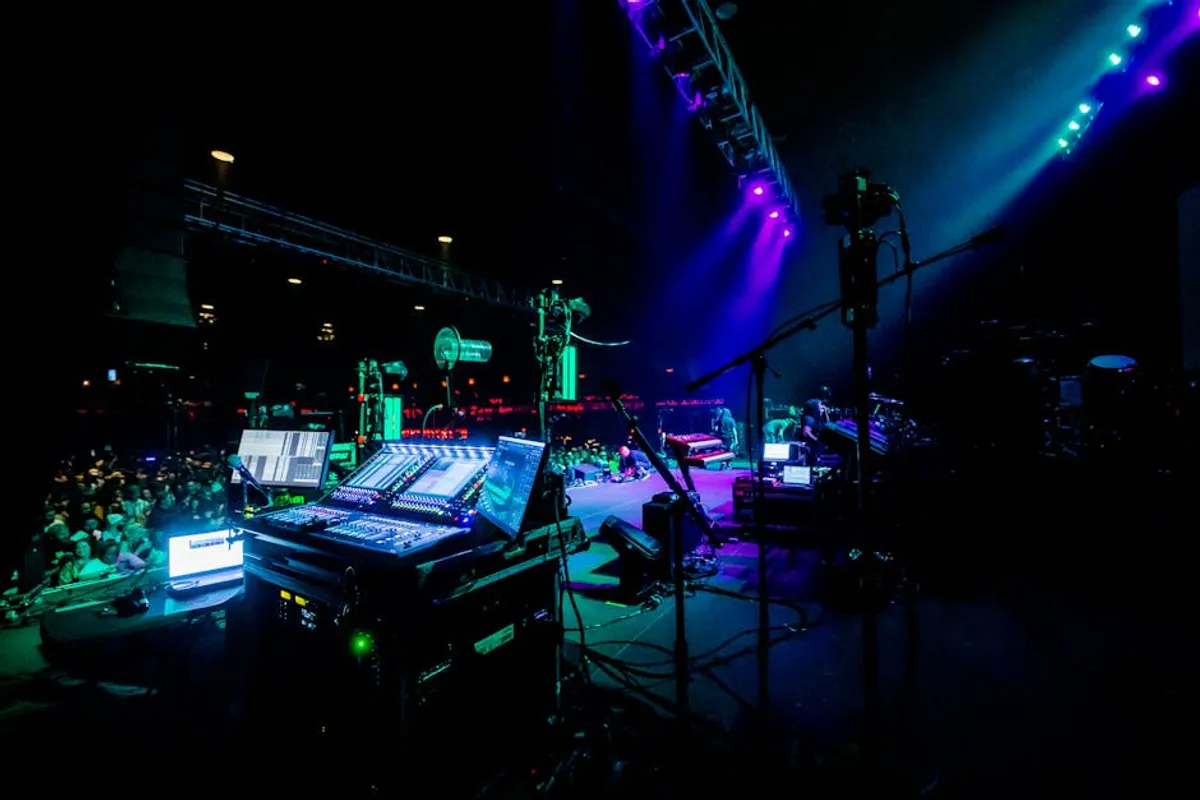
Concert photography presents a unique set of challenges, from navigating unpredictable lighting and fast-moving subjects to adhering to strict venue regulations. For beginners, the path to capturing compelling live music moments can seem daunting, often leading to blurry, underexposed, or poorly composed images. This guide provides a practical framework, focusing on actionable strategies and equipment considerations to help aspiring concert photographers produce high-quality, impactful shots consistently.
Essential Gear for Concert Photography
Success in concert photography begins with appropriate equipment. While skill outweighs gear, certain tools significantly reduce the technical hurdles inherent in low-light, dynamic environments.
Camera Body Selection
Prioritize camera bodies with strong low-light performance, which translates to cleaner images at higher ISO settings. Full-frame mirrorless or DSLR cameras generally excel here due to their larger sensors, offering better noise control and dynamic range. For beginners, an APS-C camera with a good lens can still yield excellent results, but be aware of the crop factor impacting lens focal length and depth of field.
Lens Choices for Low Light
Fast lenses are non-negotiable. "Fast" refers to a wide maximum aperture (e.g., f/2.8, f/1.8, f/1.4), allowing more light to reach the sensor and enabling faster shutter speeds to freeze motion. Prime lenses (fixed focal length) often offer wider apertures and superior optical quality compared to zooms. A common starting kit might include:
- 50mm f/1.8 or f/1.4 prime: Affordable, sharp, and excellent for portraits and detail shots.
- 24-70mm f/2.8 zoom: Versatile for capturing a range of perspectives, from wide stage shots to tighter band member compositions.
- 70-200mm f/2.8 zoom: Essential for reaching performers on larger stages or from a distance, providing excellent compression and background blur.
Crucial Accessories
Beyond the camera and lenses, a few accessories are vital for a smooth concert shoot:
- Multiple high-speed memory cards: Ensure you have enough capacity and speed for RAW files.
- Spare charged batteries: Concerts are long, and cold environments drain batteries quickly.
- Ear protection: Protect your hearing, especially near speakers.
- Comfortable camera strap: For long periods of carrying heavy gear.
- Lens cleaning kit: For unexpected smudges or dust.
Mastering Exposure in Challenging Light
Concert lighting is often dramatic but inconsistent. Manual control over exposure settings is critical to adapt quickly.
ISO Management for Noise Control
ISO controls the sensor's sensitivity to light. In low-light concert settings, higher ISOs (e.g., 1600-6400+) are often necessary. The goal is to use the lowest ISO possible that still allows for a usable shutter speed and aperture, balancing brightness with image noise. Modern cameras handle higher ISOs better, but noise reduction in post-processing will likely be needed.
Aperture Priority for Depth and Light
Use the widest aperture your lens allows (e.g., f/2.8, f/1.8) to gather maximum light and create a shallow depth of field, isolating your subject from distracting backgrounds. This also contributes to the artistic bokeh effect common in concert photography.
Shutter Speed to Freeze Motion
Concerts are dynamic. A fast shutter speed is crucial to freeze performer motion and avoid blur. Aim for 1/250th of a second or faster for most performers. For drummers or guitarists with rapid movements, 1/500th or 1/800th might be necessary. Slower shutter speeds (e.g., 1/60th) can be used creatively to introduce motion blur, but this requires deliberate practice.
Pro Tip: Avoid using your camera's built-in flash during concerts. It often creates harsh, unflattering light, distracts performers and audience members, and is frequently prohibited by venues and artists. Rely on available stage lighting and your camera's low-light capabilities.
Composition and Storytelling
Beyond technical settings, effective composition elevates a snapshot into a compelling image that tells a story.
Framing and Angles
Experiment with different angles. Get low for a dramatic perspective looking up at the stage, or shoot from slightly above to capture the energy of the crowd. Use elements like microphones, instruments, or stage props to frame your subjects. Don't always center the performer; apply the rule of thirds for more dynamic compositions.
Capturing Emotion and Interaction
The most impactful concert photos often capture raw emotion: a singer's intense gaze, a guitarist's passionate riff, or the interaction between band members. Anticipate these moments by observing the performance flow. Also, look for audience reactions to convey the overall atmosphere.
Variety in Shots
Aim for a mix of wide shots (showing the entire stage and venue), medium shots (focusing on a couple of performers), and tight close-ups (detailing expressions or instruments). This variety provides a comprehensive visual narrative of the event.
Navigating Venue Logistics and Etiquette
Understanding the rules and environment is as important as photographic technique.
Permits and Accreditation
For professional access, you'll typically need a photo pass or media accreditation. This usually involves contacting the band's publicist, the venue's press contact, or the event promoter well in advance. Without a pass, you're often limited to shooting from the audience with a camera that fits venue restrictions (often no interchangeable lens cameras or large telephotos).
Stage Etiquette and Restrictions
Most venues have a "first three songs, no flash" rule for accredited photographers. Respect these guidelines. Stay out of the way of performers, security, and other photographers. Avoid blocking audience views. Be aware of designated photo pits or areas and stick to them.
Anticipating Key Moments
Study the band's setlist if possible, or watch for cues. Performers often have signature moves, interactions, or lighting changes that you can anticipate. This foresight allows you to be ready with the correct settings and framing for peak moments.
Post-Processing for Impact
The work doesn't end when the concert does. Post-processing refines your images and brings out their full potential.
RAW vs. JPEG and Noise Reduction
Always shoot in RAW format. RAW files contain more data, providing greater flexibility for exposure adjustments, color correction, and especially noise reduction without degrading image quality as quickly as JPEGs. Use software like Adobe Lightroom or Capture One to carefully apply noise reduction, balancing smoothness with retaining detail.
Color Grading and Tonal Adjustments
Concert lighting can cast strong color hues. Use white balance adjustments to correct or enhance these colors. Adjust highlights, shadows, whites, and blacks to recover detail and add contrast. A slight desaturation of overly vibrant colors can sometimes create a more timeless feel. Cropping and straightening are also essential for refining composition.
Elevating Your Concert Photography
Consistent practice, critical self-evaluation, and a willingness to learn are fundamental. Review your work after each show, identifying what worked and what didn't. Seek feedback from other photographers. Build a portfolio that showcases your best work, demonstrating your ability to capture the energy and emotion of live performances. Each concert offers a new opportunity to refine your eye and technical skills, transforming initial challenges into creative triumphs.
Frequently Asked Questions
What is the best lens for concert photography beginners?
A 50mm f/1.8 prime lens is highly recommended for beginners due to its affordability, excellent low-light performance, and sharp image quality, making it versatile for various shots.
Can I use my phone to take good concert photos?
While modern smartphones have improved, they struggle significantly in the extreme low-light and dynamic conditions of concerts. They lack the large sensors and fast lenses necessary for professional-grade results, often producing noisy and blurry images.
How do I get a photo pass for a concert?
To obtain a photo pass, you typically need to contact the band's publicist, the venue's press contact, or the event promoter. This often requires having an existing portfolio and representing a publication or media outlet.
What camera settings should I start with for a concert?
Begin with your camera in Manual mode, setting your aperture to its widest (e.g., f/2.8), shutter speed at 1/250th of a second or faster, and ISO set to Auto ISO or manually adjusted to a higher value (e.g., 1600-3200) to achieve proper exposure.