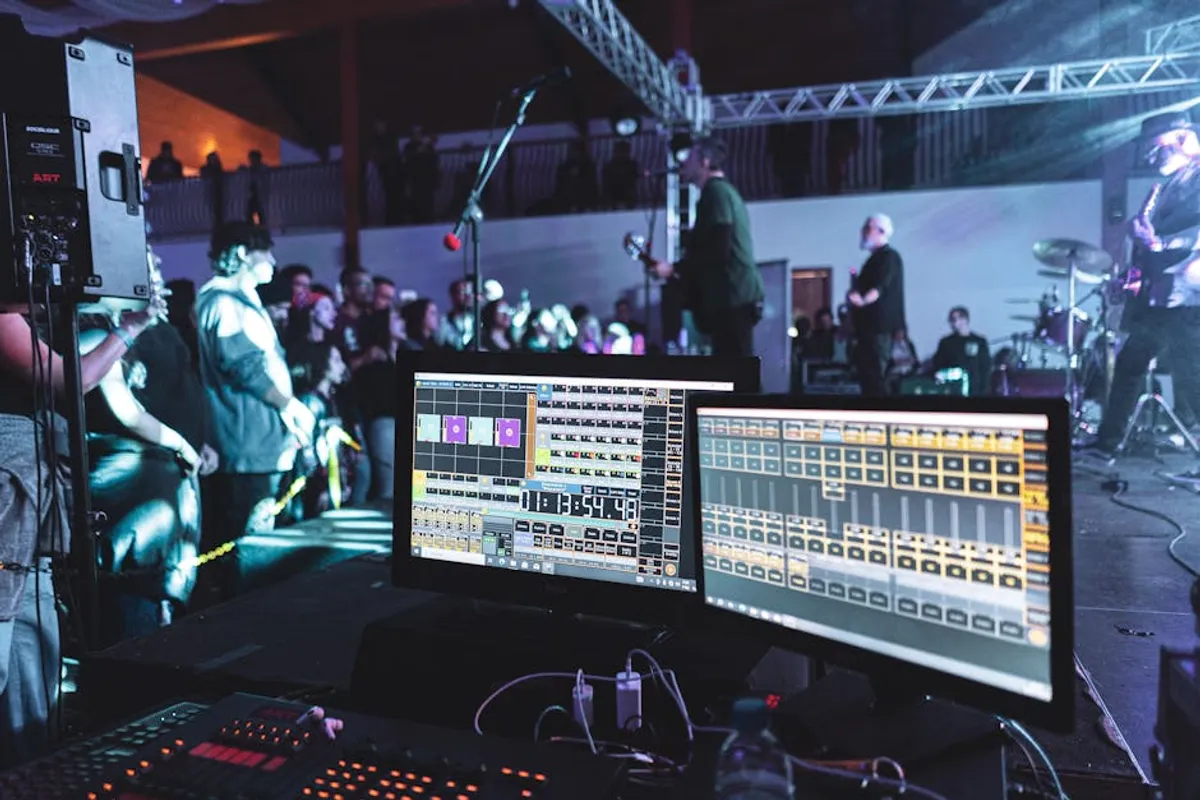
Concert photography presents a unique challenge, demanding a blend of technical skill, rapid decision-making, and an understanding of dynamic environments. For beginners, the allure of capturing compelling live performance moments often clashes with the reality of low light, unpredictable movement, and strict venue regulations. Success in this niche isn't solely about owning expensive equipment; it hinges on mastering core photographic principles tailored to the concert setting, preparing meticulously, and respecting the performance space. This guide outlines essential strategies to navigate these complexities, enabling aspiring photographers to produce impactful images from their first live event. This guide outlines essential strategies to navigate the concert environment and capture stunning images.
Essential Gear for Low-Light Environments
The right equipment forms the foundation for effective concert photography, particularly when contending with the challenging low-light conditions prevalent in most venues. Prioritize tools that offer flexibility and performance in dim settings.
Camera Body Considerations
A camera body with strong low-light performance is paramount. This typically means a DSLR or mirrorless camera featuring a full-frame or APS-C sensor, which can manage higher ISO sensitivities with less digital noise. Look for models offering robust autofocus systems that perform well in dim light, as quick and accurate focusing is critical for capturing fast-moving subjects on stage. The ability to shoot in RAW format is also non-negotiable; it preserves maximum image data for post-processing adjustments, crucial for recovering detail in shadows and highlights.
Lens Selection for Performance Venues
Lenses are often more critical than the camera body itself. Fast prime lenses (e.g., f/1.4, f/1.8, f/2.8) are highly recommended due to their wide apertures, which allow more light to reach the sensor, enabling faster shutter speeds and lower ISOs. A 50mm f/1.8 prime is an excellent, affordable starting point. Zoom lenses with a constant wide aperture (e.g., 24-70mm f/2.8 or 70-200mm f/2.8) offer versatility but are heavier and more expensive. For beginners, a single fast prime can teach fundamental techniques without the complexity of multiple focal lengths.
Crucial Accessories
- Spare Batteries: Concerts are long, and cold environments drain batteries faster. Always carry at least two fully charged spares.
- Large Capacity Memory Cards: Shooting in RAW consumes significant space. Multiple high-speed cards (e.g., 64GB or 128GB with U3 or V30 rating) prevent mid-performance card swaps.
- Earplugs: Protect your hearing. High-fidelity earplugs allow sound through without damaging volume levels.
- Lens Cloth: Dust, sweat, and fingerprints are common. A clean lens ensures sharp images.
- Small Camera Bag: Keep your gear protected and accessible, but compact enough not to impede movement in crowded spaces.
Mastering Camera Settings in Dynamic Light
Concert lighting is notoriously unpredictable. Manual mode provides the most control, allowing you to adapt quickly to changing stage conditions.
ISO Management
ISO controls the sensor's sensitivity to light. In concert photography, you will frequently push ISO higher than in other genres. Start with ISO 1600 or 3200 and adjust upwards as needed to maintain adequate shutter speed. Modern cameras handle ISO 6400 or even 12800 with acceptable noise levels. The goal is to find the highest tolerable ISO that still yields usable image quality, balancing noise with motion blur.
Aperture Prioritization
Set your aperture as wide as your lens allows (e.g., f/1.4, f/1.8, f/2.8) to maximize light intake. This creates a shallow depth of field, isolating the performer from the background, which can be advantageous in busy stage environments. However, a wider aperture means a narrower plane of focus, demanding precise focusing. If performers move erratically, slightly closing the aperture to f/4 or f/5.6 can provide a bit more depth of field to keep subjects sharp, provided you can compensate with ISO or shutter speed.
Shutter Speed for Motion
Shutter speed is crucial for freezing motion. For stationary vocalists, 1/125th or 1/160th of a second might suffice. For energetic guitarists or drummers, aim for 1/250th or 1/500th of a second to prevent motion blur. Experiment with slightly slower speeds (e.g., 1/60th) if you want to intentionally introduce motion blur for creative effect, particularly on instruments or hair, while keeping the face relatively sharp.
Pro Tip: Always shoot in continuous high-speed burst mode. Performers' movements are fleeting, and capturing a sequence significantly increases your chances of getting a perfectly timed shot. Review your shots frequently to adjust settings, but don't get so absorbed that you miss key moments.
Composition and Storytelling on Stage
Beyond technical settings, effective composition elevates a snapshot into a compelling image that tells a story.
Capturing Energy and Emotion
Look for peak action moments: a singer reaching for the crowd, a guitarist mid-solo, a drummer's intense focus. Focus on facial expressions and body language that convey the emotion of the performance. Don't just photograph the entire stage; zoom in or crop to isolate key performers, hands on instruments, or interactions between band members. These details often communicate more powerfully than a wide shot.
Framing the Performance
Vary your shots: wide shots to establish the scene, medium shots for individual performers, and tight close-ups for detail. Utilize the rule of thirds to place subjects off-center, creating more dynamic compositions. Look for leading lines from stage lights or instruments to draw the viewer's eye. Consider incorporating the audience's reaction into your frame to convey the atmosphere of the event, provided it doesn't detract from the main subject.
Navigating Venue Logistics and Etiquette
Access and professional conduct are as important as photographic skill for long-term success in concert photography.
Securing Access
For most beginners, official photo passes are difficult to obtain. Start by photographing local bands in smaller venues where rules are more relaxed. Always ask venue management or the band directly for permission before bringing a camera with a detachable lens. Be clear about your intentions (e.g., "for personal portfolio use," "to support local music"). Respect their decision if permission is denied.
Professional Conduct
Once inside, be discreet. Avoid blocking views, using flash (it's often prohibited and disruptive), or being a distraction. Move quietly and purposefully. Do not climb on anything or enter restricted areas. Your reputation for professionalism can open doors for future opportunities. Share your best work with the bands and venues as a thank you; this fosters goodwill and can lead to further access.
Post-Production Fundamentals
Concert images often require significant post-processing to bring out their full potential. Basic adjustments in software like Lightroom or Capture One are essential.
Focus on correcting exposure, adjusting white balance (to neutralize harsh stage lights), recovering highlights and shadows, and reducing noise from high ISO shots. A slight increase in contrast and clarity can add punch. Avoid over-editing; the goal is to enhance, not distort, the original scene. Cropping and straightening are also critical for refining composition.
Refining Your Concert Photography Skills
Concert photography is a skill developed through consistent practice and critical self-evaluation. Attend as many live shows as possible, even if it's just with a phone camera to observe lighting and movement. Analyze your images, identifying what worked and what didn't. Seek feedback from other photographers and actively learn from their insights. The dynamic nature of live events means no two shows are identical, providing endless opportunities to experiment and evolve your technique. Your most valuable asset is your ability to adapt and learn from every performance you capture.
Frequently Asked Questions
Is a flash ever acceptable for concert photography?
Generally, no. Flash photography is almost universally prohibited at concerts as it distracts performers and audience members, and it can ruin the ambient lighting the production team has carefully crafted. Focus on mastering natural light techniques.
What's the best way to get a photo pass for bigger shows?
Start small. Build a strong portfolio by shooting local bands and smaller venues. Network with musicians, publicists, and venue managers. Once you have a compelling body of work, you can begin reaching out to band publicists or larger venues, often requiring credentials from a publication to secure a pass.
How do I deal with constantly changing stage lighting?
Anticipation is key. Observe the lighting patterns during the first few songs. Look for moments when a performer is well-lit. Use continuous shooting mode to capture bursts during these favorable lighting conditions. Set your camera to manual mode and adjust ISO and shutter speed rapidly as light changes, prioritizing a fast enough shutter speed to freeze action.
Should I shoot in JPEG or RAW?
Always shoot in RAW. RAW files contain significantly more image data than JPEGs, offering much greater flexibility for post-processing adjustments. This is crucial for recovering detail in the extreme highlights and shadows common in concert photography, and for correcting color casts from stage lighting, without introducing artifacts.